Wednesday, April 27, 2011
Reflection ( Week 15 : 13 April 2011)
Presentation ( Part 2)
1. Siti Khadijah Mohamad
2. Parames
3. Lee Zune Pet
4. Nurlidiana Edyanti
5. Nazarudin
6. Mahfudz
7. Mariani
8. Nazatul
9. Masrul Huda
10. Norfaizah
11. Mohd Ruzani
12. Ashaari
13. Siti Hajar
14. Amien
1. Siti Khadijah Mohamad
2. Parames
3. Lee Zune Pet
4. Nurlidiana Edyanti
5. Nazarudin
6. Mahfudz
7. Mariani
8. Nazatul
9. Masrul Huda
10. Norfaizah
11. Mohd Ruzani
12. Ashaari
13. Siti Hajar
14. Amien
Reflection ( Week 14 : 6 April 2011)
Presentation ( Part 1)
1. Noor Hidayah Che Lah
2. Norihan Hamzah
3. Abdul Kadir
4. Syifak
5. Nor rafidah
6. Khairunisa
7. Mohd Rizal
8. Ley Pey Shan
9. Lai Kok Hoe
2. Norihan Hamzah
3. Abdul Kadir
4. Syifak
5. Nor rafidah
6. Khairunisa
7. Mohd Rizal
8. Ley Pey Shan
9. Lai Kok Hoe
Reflection ( Week 13 : 30 Mac 2011 )
Case Study 2 (the horrible dpi mistake)
What is resolution?
In desktop publishing, resolution refers to :
1. dots of ink that make up a picture when it is printed on paper ( 300 dpi - 2400 dpi)
2. electronic pixels when displayed on screen (72 dpi - 96 dpi)
What is dpi?
1. number dots of horizontal and vertical per inch.
2. familiar term by printer, scanner @ digital camera.
3. measure of resolution.
4. measure of how a image is printed to a medium such as paper or scanned paper.
* Each type of display device has a maximum number of dots it can process and display no matter how many dots in the picture
* Example:
Laser printer : 600 dpi
Windows computer monitor : 96 dpi
Mac computer monitor : 72 dpi
* So, when picture has more dots than the display device can support :
- the dots wasted
- increase file size but do not improve the printing or display picture
- Example:
Laser printer : 300 dpi and 600 dpi
Result : same quality printed but 600 dpi has larger file.
* So, when picture has fewerr dots that display can support:
- picture not clear & sharp.
- Example :
Picture on web 96 or 72 dpi (resolution of computer monitor). If print a
72 dpi picture to a 600 dpi printer, NOT GOOD as in computer monitor
because printer does not have enough dot's of information to create a
clear and sharp image.
4 main factors that determine image quality?
1. the quality of the recording device (camera optics and sensor, scanner's sensor)
2. the size (in pixels) of the digital image.
3. the digital format it is stored (lossless vs lossy compression)
4. the technical proficiency and the 'eye' of photographer.
What print shops really mean by dpi?
> Print shops asked for a digital photo at 300 dpi means the photo that the photo will print at a certain paper dimension in inches at 300 pixel per inch PPI.
How to changes the dpi?
Adobe Photoshop Method.
1. Load your image into Adobe Photoshop.
2. Select the "Image > Image Size" @ "Image > Resize > Image Size"
3. In the image size dialog window, deselect the "Resample Image" checkbox. (make sure the is no checkmark in that box)
4. In the "Resolution" box type in 300 (or whatever dpi you want).
5. Click "OK button".
6. Your image dpi has now been set to whatever you want (leaving the pixel dimension of the image unchanged)
7. Save the photo with a new name.
(this procedure change the dpi setting but size and resolution will be unchanged)
Reflection ( Week 12 : 23 Mac 2011)
Process and Technology of Visual Printing
File size vs Resolution vs Colour depth
> the higher the image resolution, the greater the file size
> the higher the colour depth, the greater the file size
> the more colour used, the more bytes are required to encode the image, and the more bytes required for an image, the larger the file to store the image.
> the higher the image resolution, the greater the file size
Assignment 3 (Book Cover)

Steps
1. File>New>A3 paper size
2. Layer 1>Background white
3. Layer 2>Background yellow
4. Layer 3>Text: Iezah G.M
5. Layer 4>Text:Solar system>Layer style>Effect>Outer glow>Stroke
6. Layer 4>Text:Explorinf the>Layer style>Effects>Drop shadow
7. Layer 5>Pic:Solar system>Filter
Saturday, March 19, 2011
Assignment 2 (Image Manipulation)
Manipulation 1
 | ||||||||||||||||||||||||
| Image 1 + Image 2 |
 |
| Image 1 |
 |
| Image 2 |
1. File>Open>Select pic>Pulau
2. Filter>Artistic
3. File>Open>Select pic>Friend
4. Drag>Crop
5. Layer style>Drop shadow>Stroke
6. Text>Type: Friendship Forever
Manipulation 2 |
| Image 1 + Image 2 |
 |
| Image 1 |
 |
| Image 2 |
1. File>Open>Select pic>Pulau
2. File>Open>Select pic>Langit
3. Pic pulau>Magic Wand Wool>Delete
4. Pic langit>Second layer
Manipulation 3 |
| After |
 |
| Before |
1. File>Open>Select pic>Slippers
2. Duplicate layer
3. Second layer>Black and white
4. First layer>Magnetic Lasso Tool>Inverse>Filter>Artistic
Manipulation 4
 |
| After |
 | |
| Before |
1. File>Open>Select pic>Pulau>Sharpen
2. Clone stamp tool
Manipulation 5 |
| After |
 |
| Before |
2. Blur tool
Manipulation 6
 |
| Image 1 + Image 2 |
 |
| Image 1 |
 |
| Image 2 |
1. File>Open>Select pic>Sunset
2. File>Open>Select pic>Hand
3. Select Magic Wand Tool>Hand
4. Insert layer>Copy hand>Image adjustment >Brightness/Contrast
Wednesday, March 16, 2011


Reflection ( Week 10 : 9 Mac 2011 )
My lovely lecturer, Dr Zaida was not feeling very well. Hope she recovered as soon as possible.
Reflection (Week 9 : 2 Mac 2011)
Brightness/Contrast, hue/Saturation, level & curve...
i. Brightness/Contrast
i. Brightness/Contrast
Brightness digunakan untuk mengatur kecerahan gambar manakala Contrast digunakan untuk ketajaman gambar.
ii.Hue/Saturation
Hue adalah warna manakala Saturation adalah ketebalan/nipisnya warna tersebut. Kedua-duanya digunakan untuk menggantikan warna tertentu pada gambar/seleksi
iii. Level
Level adalah seperti Brightness/Contrast tetapi lebih fleksibel kerana warna gelap, warna menengah dan warna terang dapat diatur dengan baik.
iv. Curve
Curve adalah seperti Level cuma warna RGB nya sahaja diaturkan di dalam bentuk curve.
Penyuntingan Imej...
1. Penyuntingan imej menggunakan ikon-ikon pemilihan kawasan seperti ikon Marquee Tool, ikon Lasso Tool dan Magic Wand Tool.
 |
| Image 1 |
 |
| Image 2 |
 |
| Image 3 |
 |
| Gabungan Imej 1 + Imej 2 + Imej 3 |
2. Penggunaan kesan khas menggunakan ikon blur tool.
 |
| Original Image |
 |
| Image Blur |
3. Pengklonan imej menerusi kemudahan clone stamp.
 |
| Original Image |
 |
| Clone Image |
4. Penggunaan kesan khas menerusi filter.
 |
| Original Image |
 |
| Filter > Artistic > Coloured pencil > Plastic wrap |
5. Kombinasi imej
Langkah 1 : Auto-align layers


Langkah 2 : Auto-blend layers (Crop)

Reflection (Week 8 : 23 Feb 2011)
Introduction to AdobePhotoshop.
Brief Glossary of Electronic Imaging Terms.
1. Brightness - the intensity of the shades in an image.
2. Contrast - the range of shades in an image.
3. Drawing - an image type that uses large blocks of single colours or gray shades rather than small, individual dots.
4. File format - the software format an image is digitally stored. (Ex: GIF, JPG, TIFF and BMP)
5. File size - the total number of bytes in an image. Size is determined by file format, colour depth, image size, resolution, and editing effects (Ex: sharpening)
6. Halftone - an image type that stimulates gray scales by using various-sized dots, as commonly used in black-and-white newspaper photos.
7. HSB - the hue, saturation, and brightness balance of an image.
8. Hue - the "value" of a colour; or the sum of a colour's saturation and brightness.
9. Image size - the height and width of an image, measured in pixels.
10. Image type - the visual format of a scanned image, not to be confused with the file format. Three main classes of image type are photo, halftone and drawing.
11. Indexed colour table
- the reduction of an image into a grid containing a set number of colours.
- VGA and EGA monitors can read only 16-colour indexed colour tables, whereas SVGA monitors can support up to 256-colour indexed colour tables.
- the most commonly used file format on the WWW that uses an indexed colour table is GIF (256 colours).
- an indexed 256-colour table is also referred to as "8-bit colour".
12. Millions of colours (a.k.a True Colour) - 24-bit colour that allows uo to 16.7 million diffrent colours in an image. Currently, most computer users do not have monitors capable of viewing this colour depth.
13. Optical character recognition (OCR) - software that translates images of words into ASCII characters.
14. Photo or Photograph - an image type with high definition, including many diffrent shades of gray or colour.
15. Resolution - the concentration of dots per inch (dpi) in an image. SVGA monitors are typically 72 dpi.
16. Saturation - the depth or intensity of a colour. Increasing colour saturation makes the colours appear richer, decreasing saturation makes them paler.
17. Sharpness - an image-editing technique that accentuates that relief between shades, decreases blurring, and makes the image appear more defined. Also increases the file siza.
18. TWAIN - the industry standard for exchanging information between graphics applications (such as desktop publishing software) and peripheral devices (such as scanners or other image-capturing devices)
Reflection (Week 7 : 16 Feb 2011)
On week 7, we are going outdoor shooting for composition photography.


Saturday, February 19, 2011
Assignment 1 (Digital Image Album)
i) Realistic image by using DSLR.
2 portrait images
Portrait 1


Portrait 2


4 landscape images
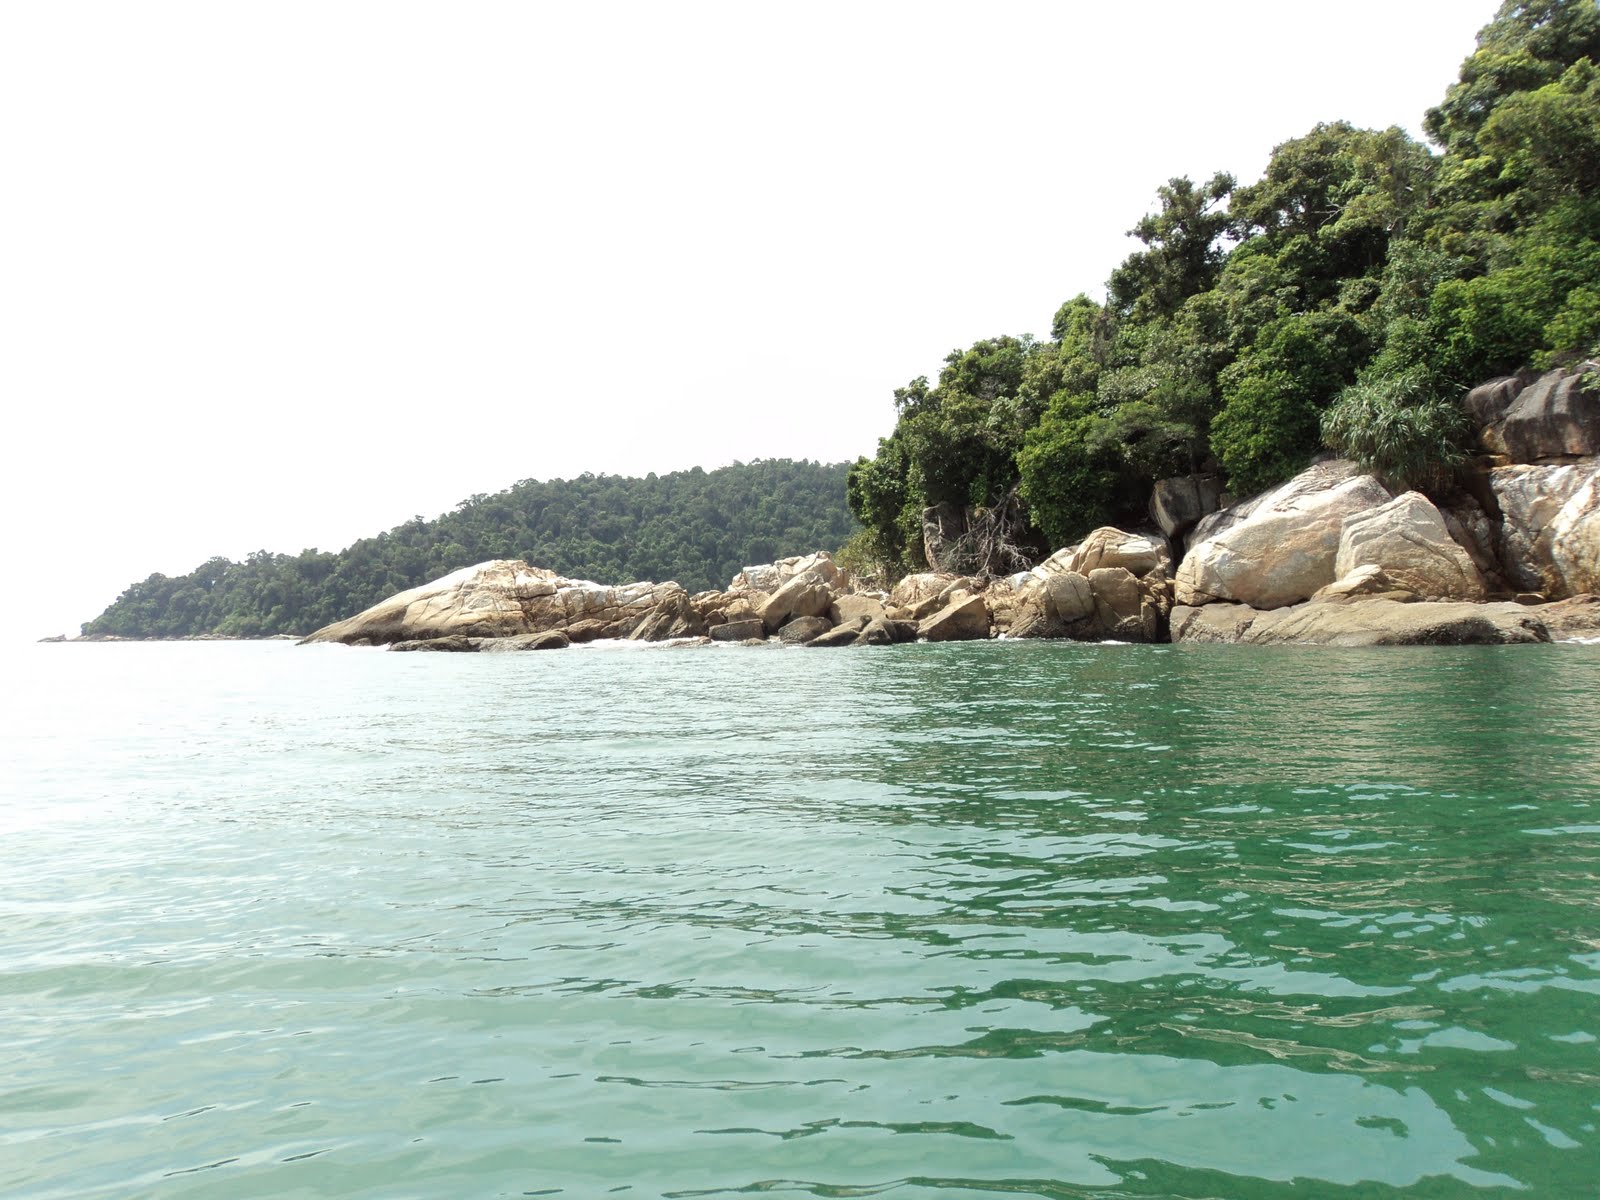
Landscape 1


Landscape 2


Landscape 3


Landscape 2


Landscape 3


Landscape 4


2 macro images
Macro 1


ii) 6 images with incorrect exposure and shooting technique and the corrected version of the images with the correct exposure and shooting technique.

Incorrect technique (under exposed)


Incorrect technique (no balance)

Correct technique (balance)

Incorrect technique (over exposed)

Correct technique

Incorrect technique (no frame)

Correct technique (frame)

Incorrect technique (cutting on the frame)

Correct technique (Symmetry balance)

Incorrect technique (busy background)

Correct technique (Simplicity)
Subscribe to:
Comments (Atom)